| Index |_1_|_2_|_3_|_4_|_5_|__Home | |
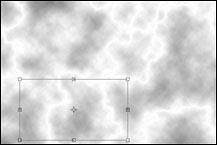 |
6. If you are unhappy with the pattern, return to step 3 and repeat the process, or use the Rectangular Markee tool to select a portion of the image that you like and...
7. ...use Free Transform to resize the selection to fill the entire window. |
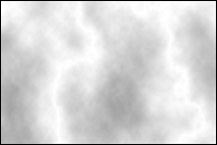 |
8. Look at the marble pattern again. This is a grayscale, negative version of your final art.
Now we will begin making a series of channel masks which will be used to paint our marble. |
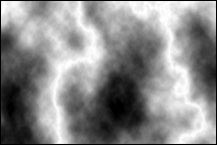 |
9. Duplicate the channel you just created. Target the duplicate channel and go to Image > Adjust > Levels (Shortcut: Command-L). Click the Auto button.
The Input Levels sliders will shift, causing the darkest pixels in the image to become black. The image will become darker overall. |
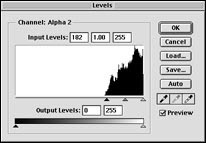 |
Note: For this to work properly, the black point and the white point need to be specified. If you are unsure how to do this, see the Photoshop User Guide or move the black Input Slider manually until it just touches the left edge of the histogram in the Levels dialog box.
Refer to the illustration at the right. |
| Index |_1_|_2_|_3_|_4_|_5_|__Home | |
| © 1999 Frederick Morris, All rights reserved. © 1999 Frederick Morris, All rights reserved. |
|